


No-Bake Lemon Tart – Cool, creamy, and packed with bright lemon flavour, this easy no-bake tart is smooth, refreshing, and perfect for warm days.

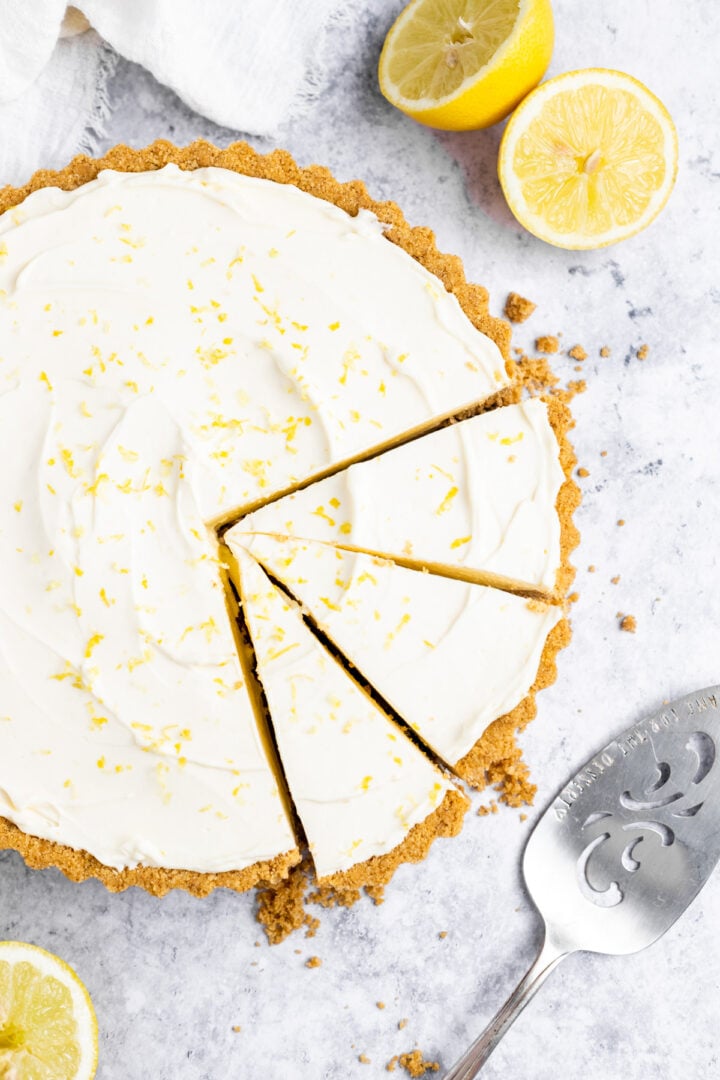
This no-bake lemon tart is cool, creamy, and bursting with fresh lemon flavour. With its buttery biscuit crust and silky citrus filling, it’s the perfect easy dessert for spring and summer.
There’s no oven required, and the tart chills into a smooth, sliceable dessert that’s light, refreshing, and surprisingly simple to make.
Looking for more lemon desserts? Check out my Lemon Curd Thumbprint Cookies, Lemon Drizzle Muffins, and my Lemon Brownies.

Ingredient highlights
- Digestive biscuits or graham crackers: Create a buttery, crisp crust. Biscoff biscuits also work well for a caramelised flavour.
- Fresh lemon juice: Gives the tart its bright, tangy flavour. Fresh lemons work best for the cleanest taste.
- Sweetened condensed milk: Naturally thickens the filling and balances the sharp lemon flavour.
- Double or heavy cream: Helps create a smooth, creamy filling that sets beautifully once chilled.
The printable recipe card with the full list of ingredients, their measurements, and instructions can be found at the bottom of this post.
NOTE: For best results, I highly recommend using the gram measurements (with a digital scale), rather than the cup measurements. Cup measurements are simply not accurate enough, and I cannot guarantee the best results if you use them.

Recipe FAQs
Yes. The lemon juice reacts with the condensed milk to help naturally thicken and set the filling.
Fresh lemon juice gives the best flavour, but bottled lemon juice can be used if needed.
Yes. Shortbread, Biscoff biscuits, vanilla wafers, or gingersnaps all work well.
Use double cream or heavy cream with at least 35% fat for the best texture and stability.
Did You Make This Recipe?
Leave a ⭐️ review! I’d love to see your take on it — snap a photo and tag me on Instagram or Facebook with #simplybakeblog!

TRY THESE
Tarts & Pies
Craving more sweet treats? Subscribe to my newsletter to receive recipe updates straight to your inbox. You can also keep up to date on Facebook, Pinterest, and Instagram.


No-Bake Lemon Tart
Ingredients
For the Crust
- 2 ½ cups (250g) digestive biscuit/graham cracker crumbs, about 18 biscuits
- 3 tablespoons (42g) granulated sugar
- 7 tablespoons (100g) unsalted butter, melted
For the Filling
- 1 can (14oz/397g) sweetened condensed milk
- 100 ml freshly-squeezed lemon juice, about 3 medium or 2 large lemons
- Zest of 1 lemon
- 1 teaspoon vanilla extract
- 1 ¼ cups (300ml) double/heavy cream
Instructions
For the Crust
- Break the biscuits into small pieces and pulse to fine crumbs in a food processor. Add the sugar and pulse to combine.
- Add the melted butter and pulse until the mixture resembles wet sand.
- Press the mixture into the bottom and up the sides of an un-greased 23cm/9-inch fluted tart tin with a loose base. Refrigerate whilst preparing the filling.
For the Filling
- In a large mixing bowl, whisk together the condensed milk, lemon juice, zest, and vanilla.
- Add the cream and beat to stiff peaks using a handheld or stand mixer fitted with the whisk attachment.
- Spoon the filling into the prepared crust, spread out evenly, and refrigerate for at least 4 hours or overnight.
- Slice, serve, and enjoy!
Recipe Notes
Nutrition Information:
Nutrition information is automatically calculated, so should only be used as an approximation.
Decided to make this for dessert today, as it seemed simple and required very little ingredients. And I’m so glad I did! It was so hot today, that this lemon tart really hit the spot. It was so cold and creamy, it was like eating an ice cream (because of the hot weather). It was so refreshing.
My family loved it too, so I’ll probably make it again at some point!
I’m so glad you enjoyed it, Murray!