
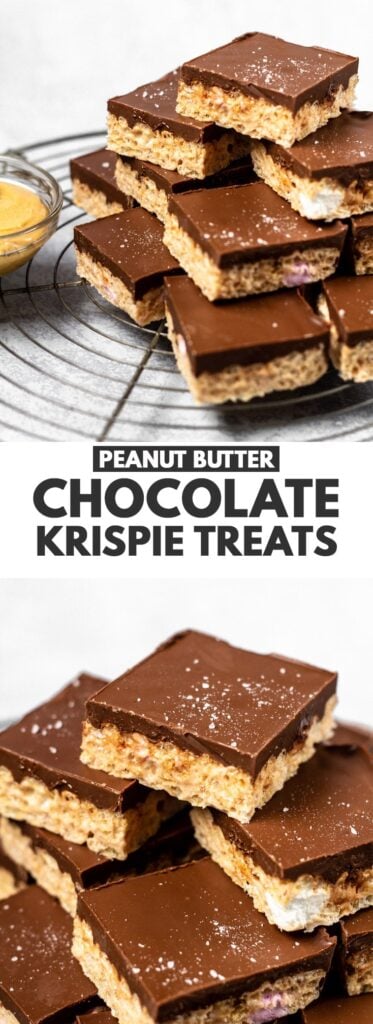
Chocolate Peanut Butter Krispie Treats – Deliciously chewy Rice Krispie squares that are loaded with peanut butter, and generously topped with a layer of chocolate!

Chocolate Peanut Butter Krispie Treats
I absolutely LOVE Rice Krispie Treats and they were always my favourite as a kid.
I’ve already shared with you The BEST Rice Krispie Treats (the best in my opinion anyway!), and now I’ve just made them even better.
I threw in some peanut butter and topped them with a thick layer of chocolate.
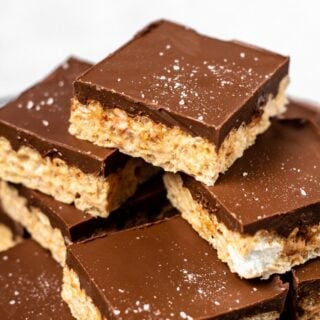
These Chocolate Peanut Butter Krispie Treats are thick and chewy, they’re loaded with peanut butter, and topped with a generous layer of chocolate that has also been melted with peanut butter!
Looking for more peanut butter treats? Check out my Chocolate Peanut Butter Bark, Peanut Butter Swirl Brownies, and my Chocolate Peanut Butter Fudge.

Ingredients you’ll need
Here’s a list of ingredients you’ll need to make these treats. You can find my recipe card at the bottom of this post for the complete list with their amounts.
- Mini marshmallows
- Unsalted butter: Melted
- Smooth peanut butter
- Vanilla extract
- Rice Krispies
For the topping, you’ll need:
- Milk chocolate: You can also use semi-sweet chocolate.
- Smooth peanut butter
How to make Chocolate Peanut Butter Krispie Treats
To make these squares, simply grab a large microwave-safe mixing bowl and add the marshmallows.
Heat in 30 second intervals, stirring after each one, until completely melted.

Add the melted butter, peanut butter, and vanilla extract, and whisk until combined.

Add the Rice Krispies and mix until completely coated. Throw in a few extra mini marshmallows if desired.

Spoon the mixture into an 8×8-inch square baking pan lined with parchment paper or foil, and spread out.
Press firmly into a packed, even layer.

For the topping, add the chocolate and peanut butter to a microwave-safe bowl and heat in 30 second intervals, stirring after each one, until melted and smooth.

Pour the chocolate over the Rice Krispie layer and spread out evenly.

Refrigerate until set – about 30 minutes. Cut into squares, serve and enjoy!
The printable recipe card with the full list of ingredients, their measurements, and instructions can be found at the bottom of this post.
NOTE: For best results, I highly recommend using the gram measurements (with a digital scale), rather than the cup measurements. Cup measurements are simply not accurate enough, and I cannot guarantee the best results if you use them.

Shop the Recipe
Here are a few handy tools I used to make these treats. As an Amazon Associate, I earn from qualifying purchases.

These Chocolate Peanut Butter Krispie Treats are:
- super quick and easy to make
- deliciously thick and chewy
- loaded with peanut butter flavour
- topped with a generous layer of melted chocolate
How long will these Krispie Treats last? These treats can be stored in an airtight container at room temperature for up to 3 days.
Can I freeze these Krispie Treats? Yes, they also freeze well, wrapped individually, for up to 2 months. Thaw overnight at room temperature.
Did You Make This Recipe?
Leave a ⭐️ review! I’d love to see your take on it — snap a photo and tag me on Instagram or Facebook with #simplybakeblog!

Try these treats next!
- Chocolate Orange Bark
- Salted Caramel Chocolate Cups
- Chocolate Peanut Butter Energy Bites
- Easy Chocolate Mousse
Craving more sweet treats? Subscribe to my newsletter to receive recipe updates straight to your inbox. You can also keep up to date on Facebook, Pinterest, and Instagram.

Chocolate Peanut Butter Krispie Treats
Ingredients
- 2 cups (142g) mini marshmallows
- ¼ cup (56g) unsalted butter, melted
- ¼ cup (63g) smooth peanut butter
- 1 teaspoon vanilla extract
- 3 cups (75g) Rice Krispies
For the Topping
- 8 oz (235g) milk chocolate, coarsely chopped
- ⅓ cup (85g) smooth peanut butter
Instructions
- Line an 8×8-inch square baking pan with parchment paper or foil, and set aside.
- Add the marshmallows to a large microwave-safe bowl and heat in 30 second intervals, stirring after each one, until completely melted.
- Add the melted butter, peanut butter, and vanilla, and whisk until combined.
- Add the Rice Krispies and mix until completely coated.
- Spoon the mixture into the prepared pan and spread out. Press firmly into a packed, even layer.
For the Topping
- Add the chocolate and peanut butter to a microwave-safe bowl and heat in 30 second intervals, stirring after each one, until melted and smooth.
- Pour the chocolate over the Rice Krispie layer and spread out evenly.
- Refrigerate until set – about 30 minutes. Cut into squares, serve and enjoy!
Video
Recipe Notes
Nutrition Information:
Nutrition information is automatically calculated, so should only be used as an approximation.